How to set up a Digital Garden in Obsidian
 Björn Stierand
This is a short description on how to set up a digital garden in Obsidian using the community plugin by Ole Eskild Skeensen. I started this during the IndieWebCamp 2023 in Nuremberg/Germany to replace my old website which was based on Known-.
Setup of the Digital Garden
To set up your digital garden, start by following the instructions provided at this link.
First, install the plugin in Obsidian. If you don't already have one, set up a free GitHub account. Additionally, create a free Vercel account.
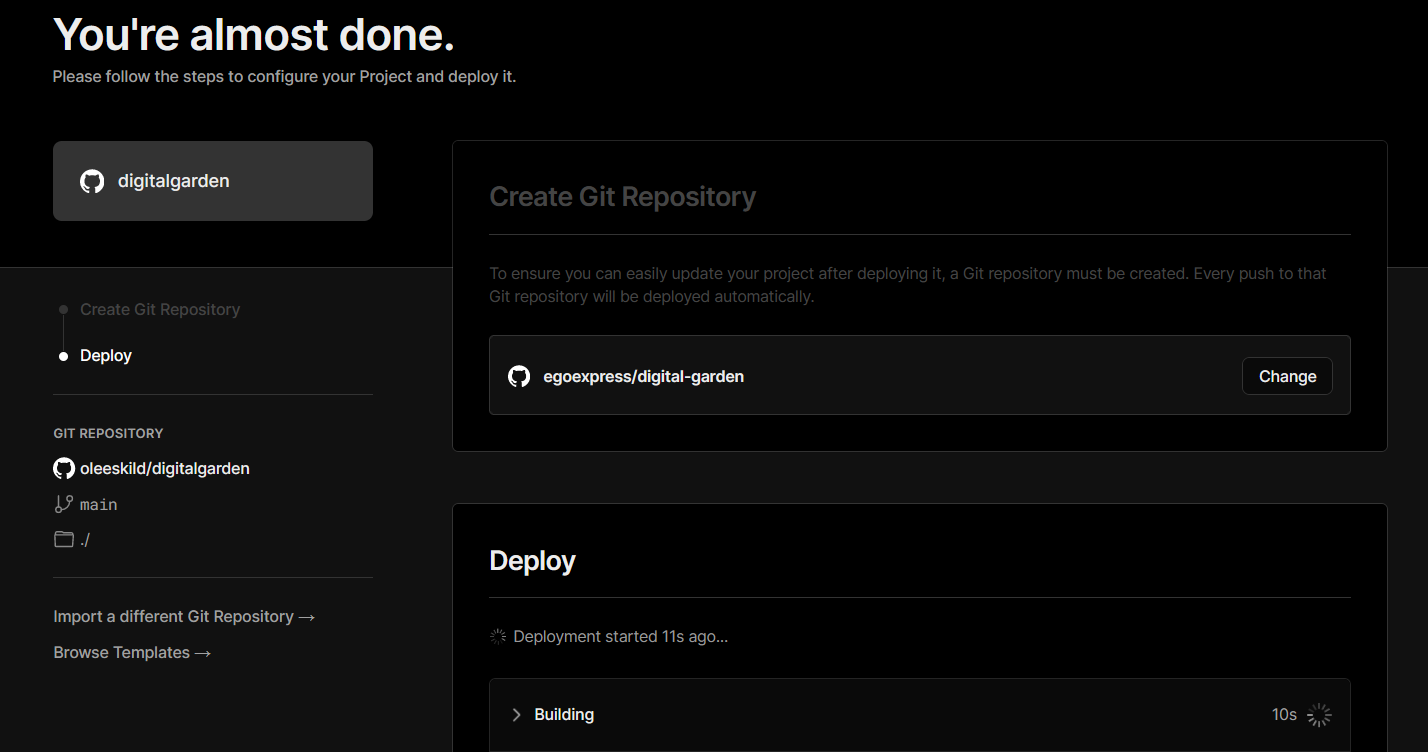
Deploy the Digital-Garden-Template-Repository to Vercel. Next, create a Fine-Grained Access Token in GitHub for your Digital Garden repository and enter this token in the Obsidian plugin configuration.
Now begin creating your first note. Add the dg-publish property with a checkbox, marking it as checked to ensure it will be published. Also, create the dg-home property, which, when checked, designates this note as the homepage of your Digital Garden. For additional notes, create and link them to your primary note. Make sure to add the dg-publish property as well to mark them for publication.
Set the dg-permalink property to define a new permalink outside the vault file structure, allowing for the creation of your own hierarchies.
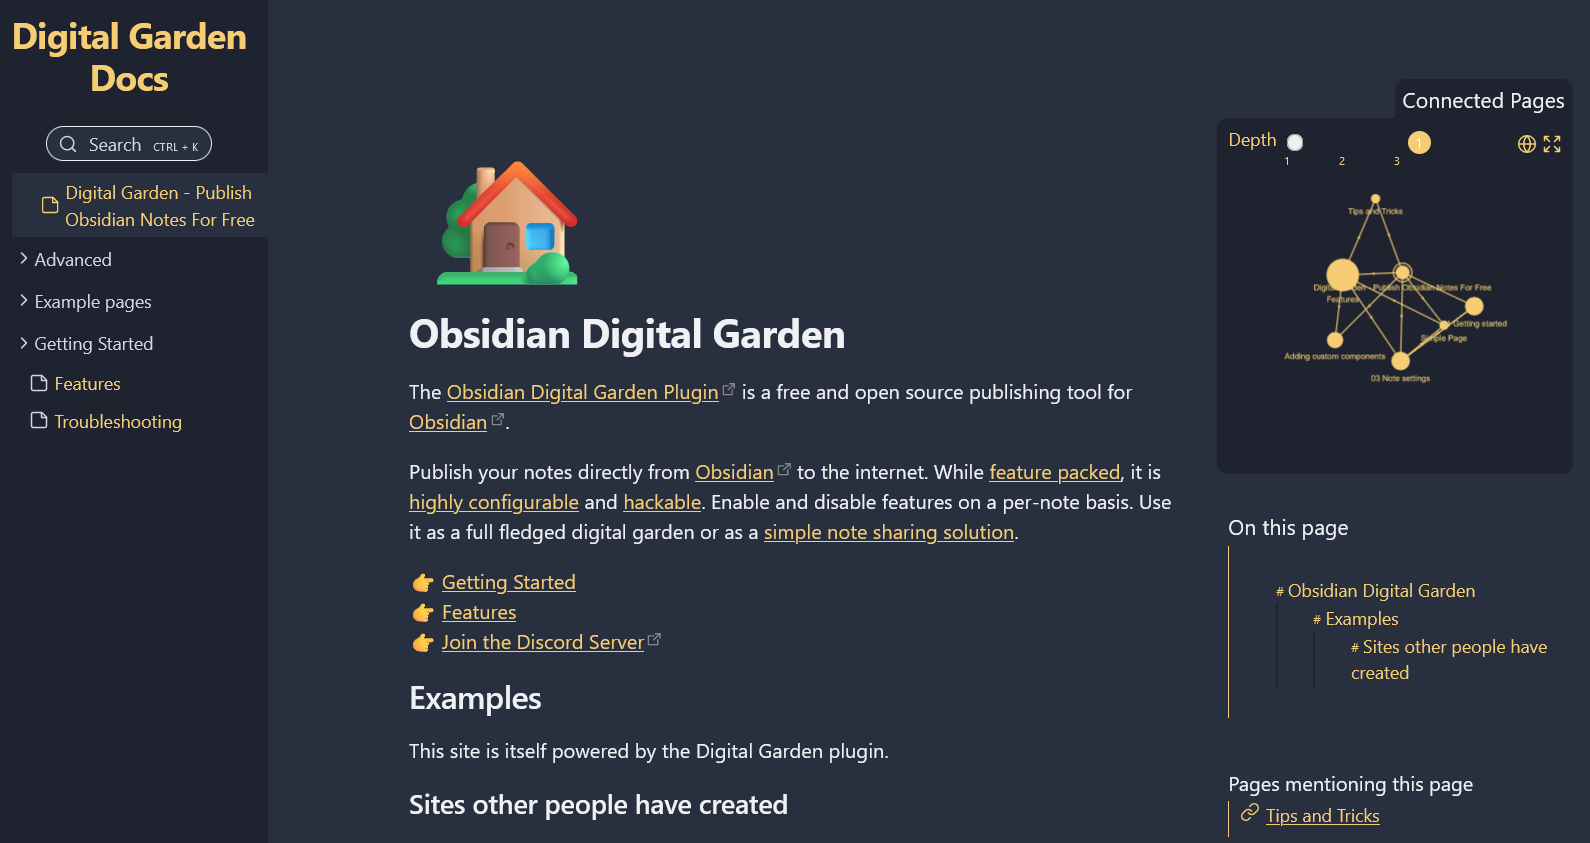
To publish your Digital Garden initially, use the command palette and select Digital Garden: Publish Multiple Notes. You can then access your website at https://digital-garden-azure.vercel.app. Further customization of your Digital Garden in Obsidian is possible, more information can be found here.
How to publish notes from Obsidian
- When publishing new notes from Obsidian, the corresponding notes (with the
dg-publishattribute) are added to the Git repository of the Digital Garden. Only notes with this attribute are published, so it must also be set for all linked sites. - Vercel detects the new check-in in the Git repository after the commit and creates a new deployment (based on Eleventy as a static site generator).
- Global settings (graph, backlinks, etc.) are set via the plugin's configuration page. These can be overridden per node with properties. These properties should explicitly use the Text format (not Checkbox) for the moment.